
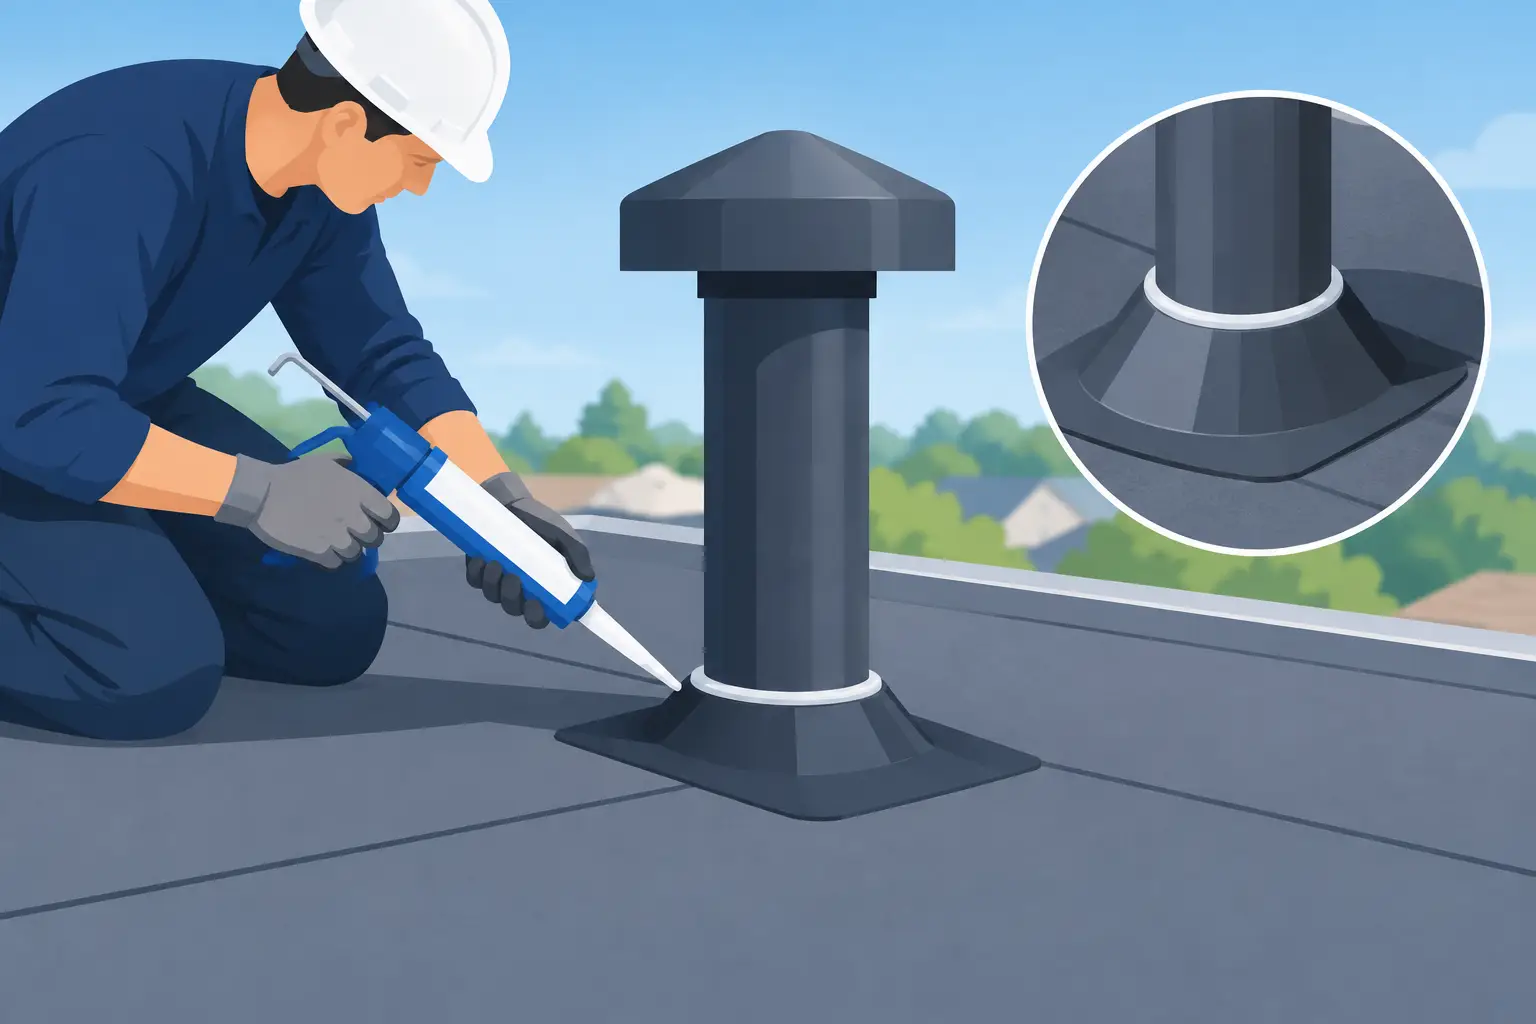
A roof rarely leaks in the middle of an open field of shingles or membrane. Water usually finds its way in where the roof has been cut, fastened, or interrupted. Knowing how to seal roof penetrations correctly means treating vents, pipes, skylights, HVAC curbs, and other openings as complete flashing systems – not simply applying another bead of caulk.
That distinction matters in Nevada and Northern California. Intense sun can dry and crack exposed sealants, wind can lift poorly secured flashing, and snow or standing water can expose weak details around curbs and pipe boots. A durable repair starts with the right materials, the right overlap sequence, and a close look at the roofing system already in place.
Start by Identifying the Type of Penetration
Every roof penetration needs a weatherproof transition between the roof covering and the item passing through it. The correct repair method depends on the penetration itself and the type of roof.
Common residential penetrations include plumbing vent pipes, furnace flues, attic vents, bathroom exhaust vents, skylights, solar mounts, and chimney flashing. On commercial roofs, the list often includes HVAC curbs, drains, pipes, conduit supports, mechanical equipment, pitch pans, skylights, and exhaust stacks.
A small round pipe on a shingle roof may need a replacement neoprene boot and properly woven shingles. A large HVAC curb on a low-slope membrane roof requires factory-compatible flashing, welded seams, and positive drainage around the curb. Treating both situations with general-purpose roofing cement can create a short-term patch that fails when weather conditions become demanding.
Inspect Before You Seal Anything
Do not assume the visible crack is the whole problem. Water can travel along roof decking, insulation, rafters, or the underside of a membrane before it appears inside the building. The stain on a ceiling may be several feet from the actual entry point.
From the roof, inspect the penetration and the surrounding area for cracked boots, loose fasteners, missing or lifted shingles, open seams, brittle sealant, punctures, and rusted metal. Check whether water can pond uphill from the penetration or whether debris is holding moisture against it. On low-slope roofs, look closely at the membrane corners and flashing transitions, where movement and UV exposure often create separation.
Inside the attic or building, look for damp insulation, darkened wood, mold growth, or water tracks. If the roof is steep, high, wet, or difficult to access, leave the inspection to a qualified roofing contractor. A fall risk is never worth a do-it-yourself repair.
How to Seal Roof Penetrations on Shingle Roofs
On an asphalt shingle roof, flashing must work with the roof’s water-shedding pattern. Water should flow over each layer below it, never behind it. That means shingles and flashing need to be installed in the correct sequence rather than covered indiscriminately with sealant.
Replace Worn Pipe Boots
Plumbing vent boots are among the most common leak points on residential roofs. The rubber collar around the pipe can split from sun exposure, while the metal base can corrode or pull loose.
For a proper repair, carefully lift the surrounding shingles and remove the fasteners holding the old boot in place. Slide the new boot over the pipe, placing the upper portion of its flange under the shingles above it. The lower flange should remain over the shingles below so water sheds naturally. Fasten only where the manufacturer allows, then cover exposed fastener heads with compatible roofing sealant.
Avoid relying on sealant to repair a severely cracked boot. Sealant can help protect a fastener or edge, but it cannot restore the flexibility and waterproofing performance of failed rubber.
Rebuild Step and Counterflashing Around Walls and Chimneys
Chimneys, sidewalls, and dormers need layered metal flashing. Step flashing pieces are woven between shingle courses along the side of the vertical surface. Counterflashing covers the top edge of that step flashing and directs water outward.
Leaks often develop when flashing is nailed incorrectly, buried under roofing cement, or separated from masonry. The right repair may involve removing shingles, replacing damaged flashing pieces, and resetting counterflashing. Because chimney work can involve masonry, heat clearances, and complex water paths, professional repair is usually the cost-effective choice.
Seal Skylights as a System
A skylight leak is not always a skylight failure. It may be damaged shingles, failed flashing, or an improperly installed curb around the unit. Check the manufacturer-approved flashing kit, the condition of the skylight frame, and the roofing materials immediately uphill from it.
Do not coat the entire perimeter with mastic. That can trap water, hide a failing flashing system, and make a future replacement more difficult. Replace damaged flashing components and restore the surrounding roof layers instead.
Sealing Penetrations on Flat and Low-Slope Roofs
Commercial and residential low-slope roofs require a different approach. Single-ply membranes, modified bitumen, built-up roofs, and coating systems each require compatible materials and installation methods.
A membrane roof penetration is typically sealed with pre-formed pipe boots, reinforced flashing membrane, termination bars, or manufacturer-approved liquid flashing. Seams may be heat-welded on TPO or PVC systems, while EPDM often uses specialized primers, tapes, and adhesives. Modified bitumen details may require properly installed flashing plies and compatible surfacing.
Material compatibility is critical. A sealant that adheres well to metal may not bond reliably to a specific membrane. Some products can even compromise the roof surface or void a manufacturer warranty. If the building has a coated roof, repairs should also maintain the coating system’s continuity and reflectivity where applicable.
Pay Attention to Curbs and Pitch Pans
HVAC curbs and other large mechanical penetrations should have raised, securely attached flashing that extends above anticipated water levels. The membrane must be properly tied into the curb flashing, with corners reinforced and seams fully sealed.
Pitch pans are metal enclosures used around irregular groups of pipes or conduit. They can be effective when detailed correctly, but the pourable sealer inside them must remain flexible and intact. Cracked or shrinking filler, loose pan edges, and standing water around the pan all deserve prompt attention.
Use Sealant Where It Belongs
Roofing sealant is valuable, but it is not a substitute for flashing. Use it to seal approved fastener heads, protect small termination points, address minor gaps specified by the roofing manufacturer, and reinforce certain repair details.
Choose a sealant designed for the roof material and expected exposure. It should remain flexible through temperature swings, resist UV deterioration, and adhere to the substrate. Clean and dry the surface before application. Dust, moisture, oxidized metal, and loose granules can prevent proper adhesion.
More sealant is not always better. Thick, uneven applications can crack, collect debris, and divert water where it should not go. A clean, properly tooled bead in the right location performs better than a large patch of roofing cement spread across a failed detail.
Do Not Ignore Drainage and Movement
Even a well-flashed penetration can leak if water is allowed to pond against it for extended periods. Keep drains, scuppers, gutters, and roof valleys clear so water moves off the roof as intended. On low-slope buildings, investigate recurring ponding around rooftop equipment and penetrations. A drainage correction may be needed alongside the flashing repair.
Movement is another factor. Pipes, metal curbs, and roof decks expand and contract at different rates. Flexible boots, properly detailed expansion provisions, and compatible materials help accommodate that movement. Rigid patches often fail first because they cannot move with the roof.
Know When to Call a Roofing Professional
A homeowner may be able to replace an accessible pipe boot on a simple shingle roof, provided the surrounding roof is in good condition. Beyond that, roof penetrations can become deceptively technical. Commercial roofs, skylights, chimneys, solar attachments, HVAC curbs, and active leaks should be evaluated by an experienced roofer.
Mountain Valley Roofing helps property owners identify the source of leaks and determine whether a penetration needs targeted repair, new flashing, membrane restoration, or a broader roof maintenance plan. The goal is not to apply a temporary patch. It is to protect the roof system, the structure beneath it, and the investment you have made in the property.
A penetration that looks minor today can become wet insulation, damaged decking, interior repairs, and business disruption after the next storm. Address it while the repair is still focused, and make sure the finished detail sheds water as reliably as the rest of the roof.